Setting Bixolon EN
To set up the Bixolon on the network, the practice must have DHCP. The Bixolon searches for a free IP address, but unfortunately, it doesn't disclose it.
Then you need to search for the IP address using a network scanner. I used https://www.advanced-ip-scanner.com/de/ for this.
The Bixolon will then be displayed with its IP address, model, and MAC address.
Using the IP address, you can configure it via the web front end. The default login credentials are admin and password. These should be changed by the lab.
The printer is set up using the Windows printer setup utility.
To do this, right-click on the Windows icon in the bottom left corner.

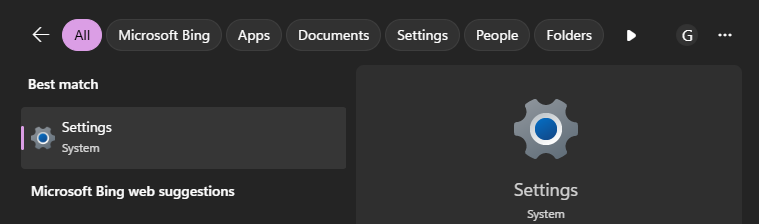
Now select the settings.

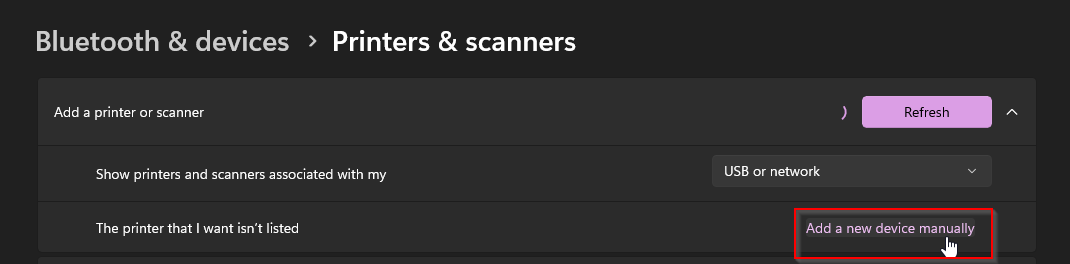
In the settings, please select "Printers and Scanners" to add the new printer. Since the Bixolon will not appear yet, you will have to add it manually.
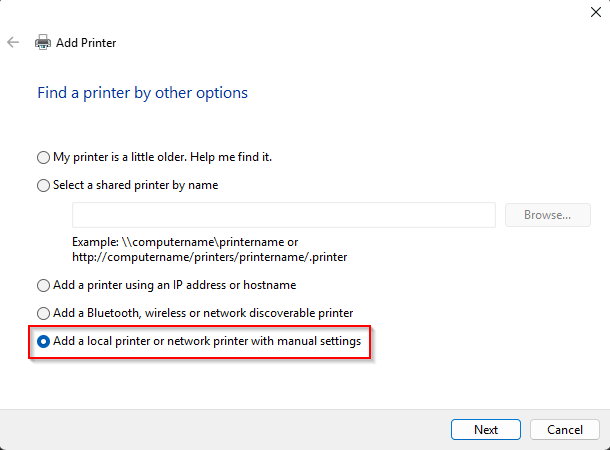
Then select the highlighted option and click next.

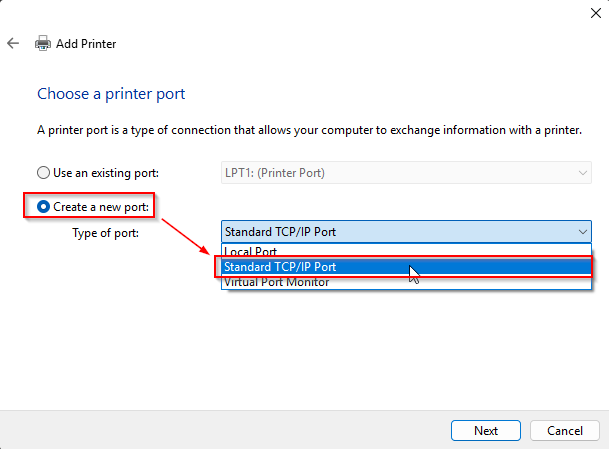
Now please select "Create new port" and select the standard TCP/IP port from the drop-down menu to the right and click "Next".
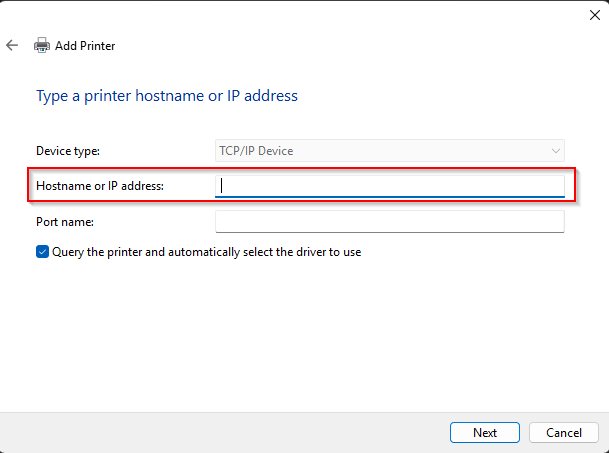
Next, you must enter the IP address of the Bixolon. The port name can be changed at your discretion, but is not required.
You should now have the installation CD handy or download the driver here. Please select the driver for your Bixolon printer. In our example, we're setting up an SLP-DX220.
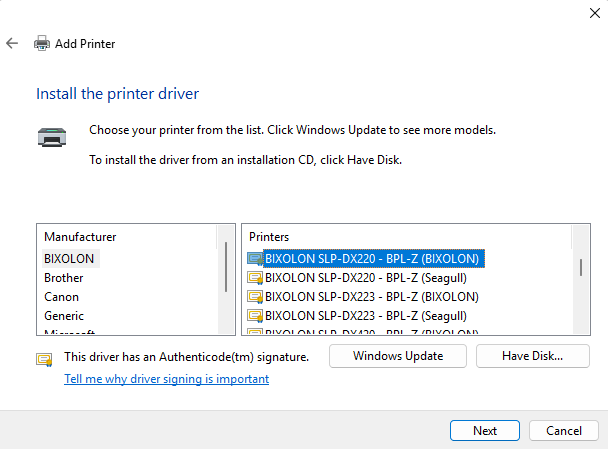
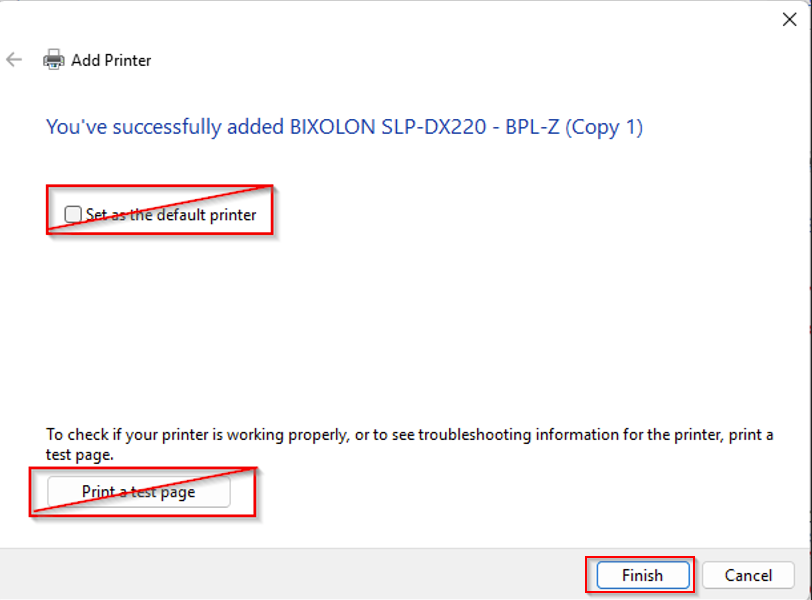
Confirm by clicking "Next" and "Finish." Uncheck "Set as default printer" and click "Finish."
Setting up as a USB
The Bixolon can also be set up as a USB printer and shared later. To do this, right-click the Windows icon in the bottom left corner. Now select Settings.
In the settings, please select "Printers and Scanners" to add the new printer. Since the Bixolon will not appear yet, you will have to add it manually.

Then select the highlighted option and click "Next".
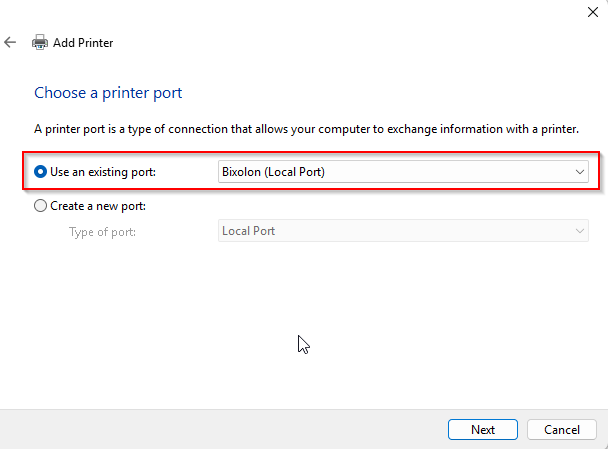
Next, select "Use existing port" and locate, for example, the Bixolon port.
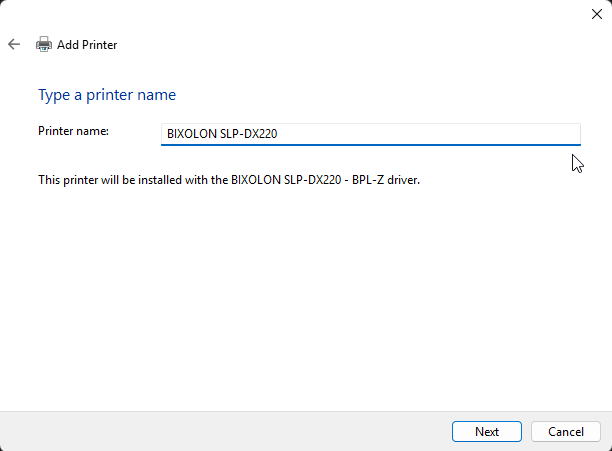
Now select the Bixolon you want to install. In our example, it's the SLP-DX220.

You can then adjust the printer name if necessary and confirm with "Next".
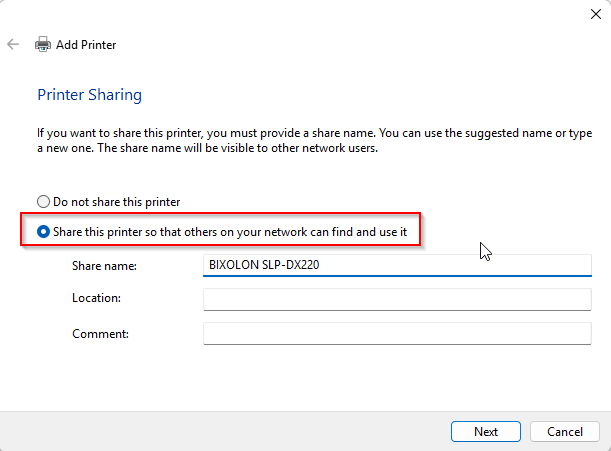
Now you need to share the printer. Avoid special characters.
Then click "Next." Uncheck "Set as default printer" and click "Finish."

Network without DHCP
If DHCP is not available, you will need to set up the printer using the Windows ARP program.
To do this, connect the Bixolon directly to your laptop/computer via a network cable. There should be no switches, etc., in between.
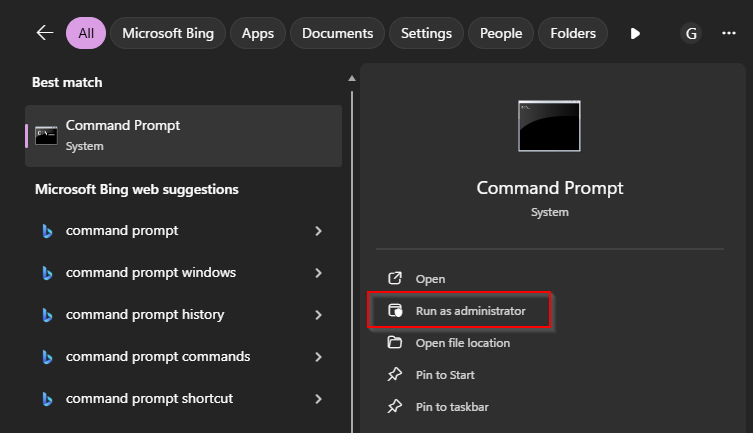
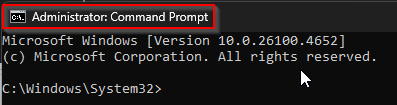
Once you have completed the cabling, open the Start button in the taskbar and type "CMD." Right-click on the command prompt and select "Run as administrator."
You may need to confirm this again with Windows permission. Please double-check that you are in administration mode.
By typing arp -h, you will see all the important functions of the ARP program. Since you want to add the Bixolon, you will need arp -s
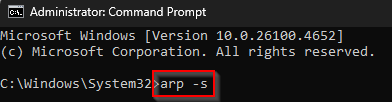
Here's an example of how to set up the Bixolon with arp -s in Windows:
arp -s 157.55.85.212 00-aa-00-62-c6-09
The command consists of arp -s (Windows must add the entry), the IP address (should be a free IP address from the lab - please arrange this beforehand with the lab or customer service representative)
and the MAC address (this is unique for the device's network card and therefore unambiguous). This is usually located under the printer or on the network port.
After you execute this command, the Bixolon will be temporarily visible on the network. Now enter the IP address in the browser and begin configuring the Bixolon.
After a restart, the newly configured IP address should be available, and you can connect the printer to the network as described above.
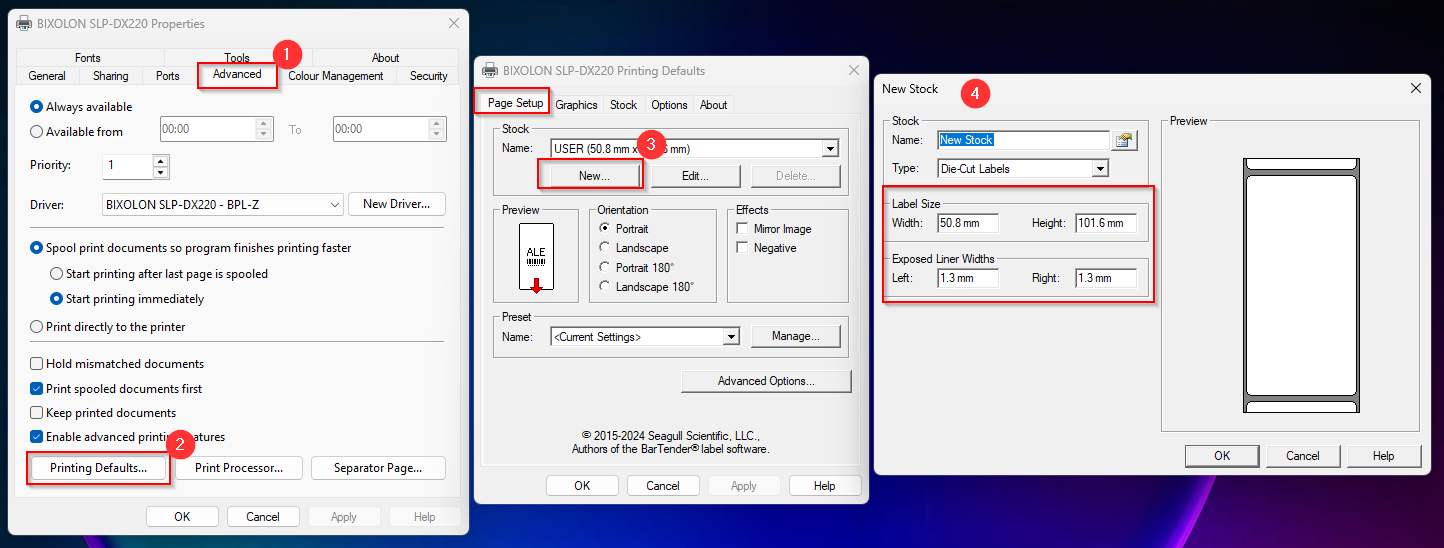
Print Settings
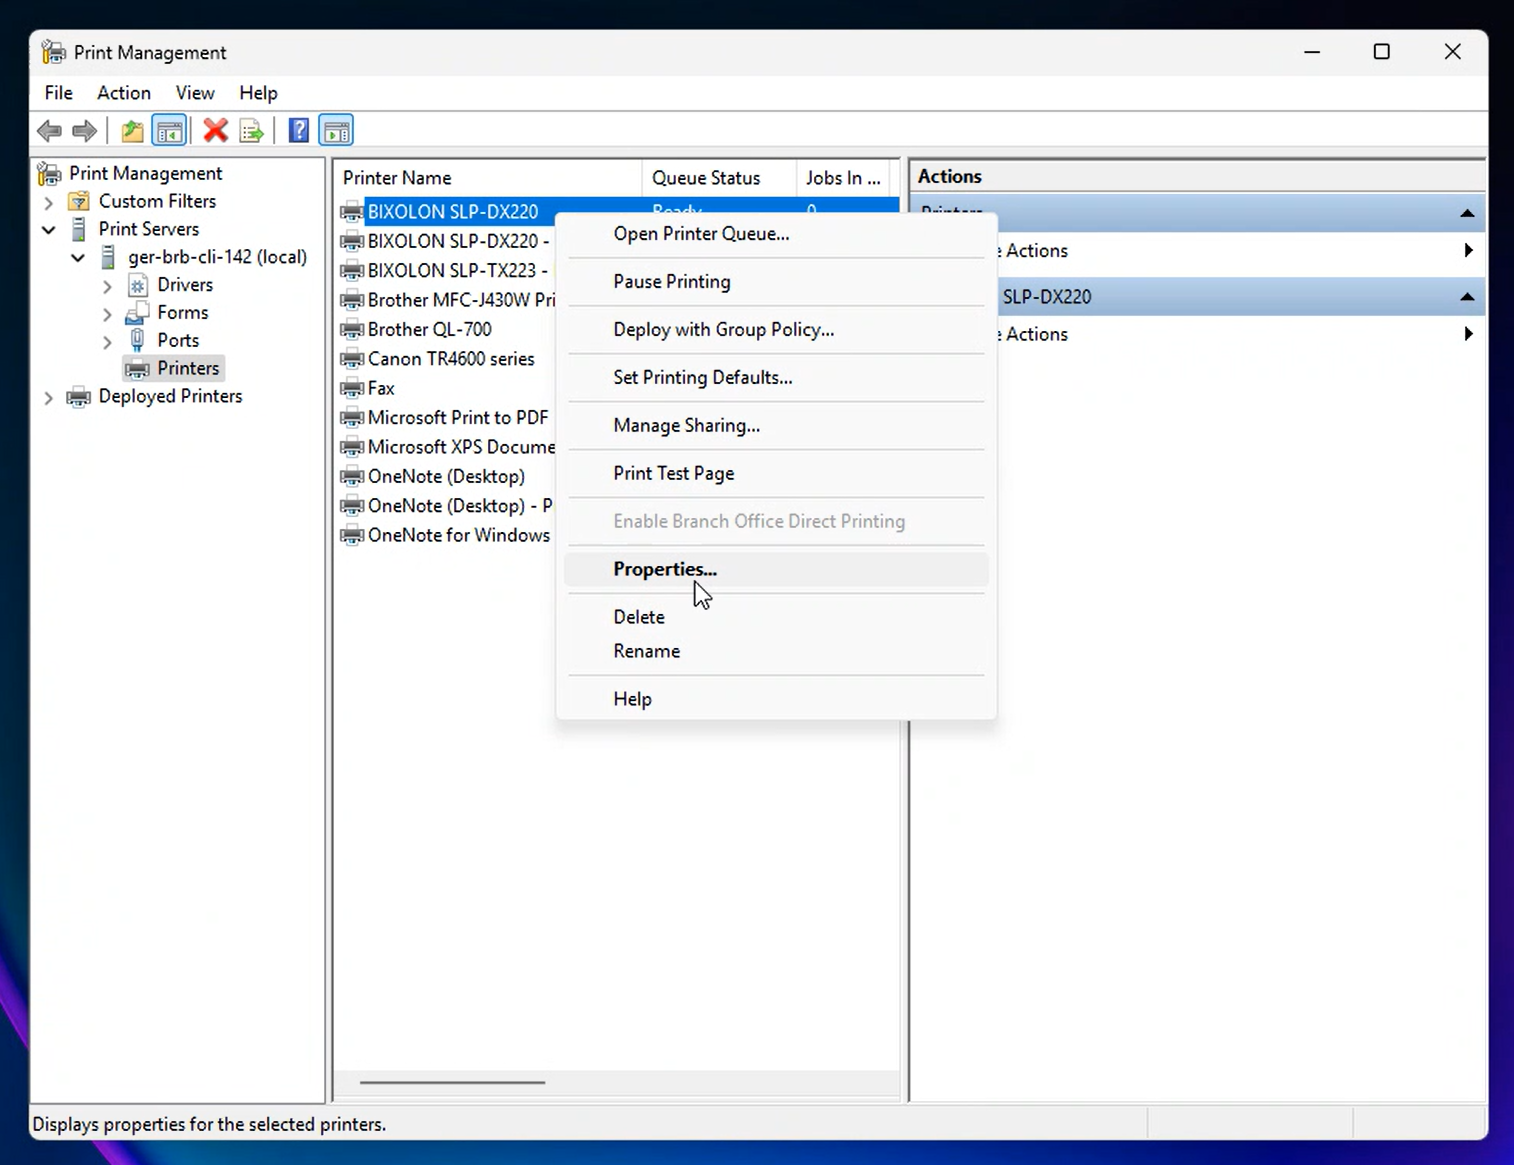
The label size settings must be adjusted via Print Management.
Use the printer server to display the printers on the local PC and access the properties of the Bixolon printer.
On the "Advanced" tab, select "Default Values." In "Page Setup," select the current label and set the values as shown in the screenshot.
Info: The values for "Exposed Width of Backing Material" are subtracted from the label size, so the print may be too far to the left.
Then confirm with “OK”.